
Step 2:
Install dentaleyepad control center
and license
To download dentaleyepad control center from our website,
please click on the button below.
Installation instructions for dentaleyepad control center
Please run the file downloaded from the download folder and follow the instructions:
Where to find the download folder?
- Open File Explorer from the taskbar, or press Windows-Logo key + E.
- Then go to Access and select the option Downloads from the menu.
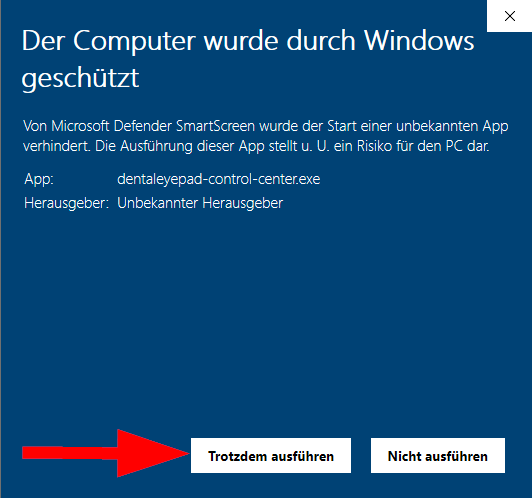
When this window appears, please click on “More information”:

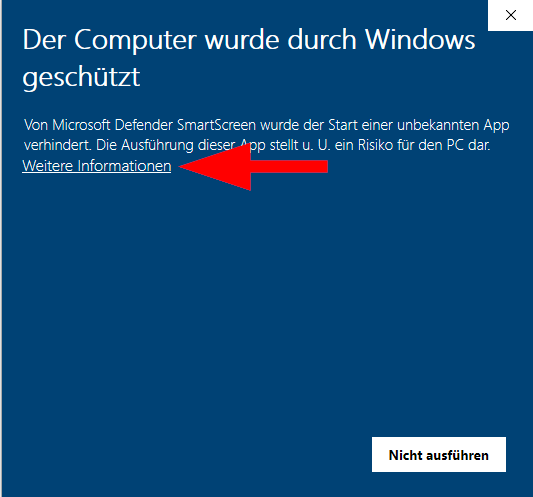
and then click on “Run anyway”:
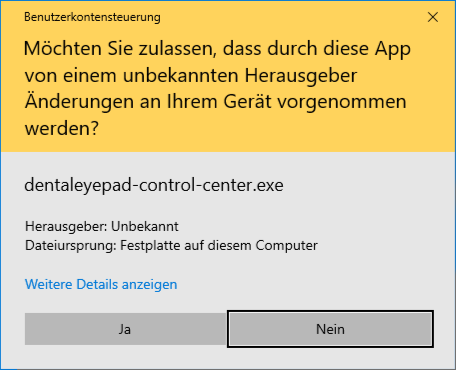
After that the Windows user account control is requested:
Please confirm here also with yes.
You may also need to enter a password here.
If you do not know this, please contact your IT service provider.
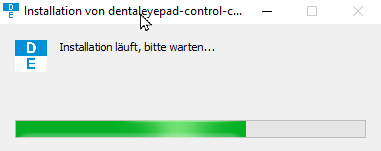
After that the installation will be executed. This takes only a few seconds.
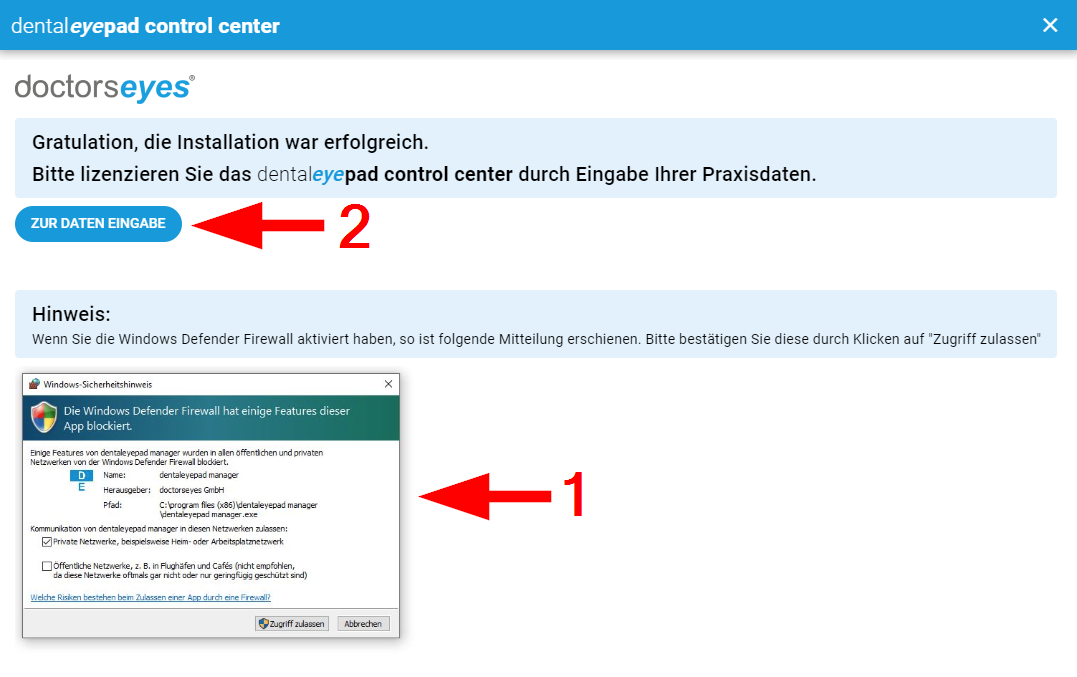
If the installation was successful, the following window appears:
Please also note here the reference to the Windows Firewall.
It may
be
that
this window is in the background.
Please enter the serial number of your dentaleyepad in the field below.
You will find the serial number on the back of your dentaleyepad in the recessed grip.
It is located behind the dentaleyepad lettering (behind S/N) and has 5 digits.

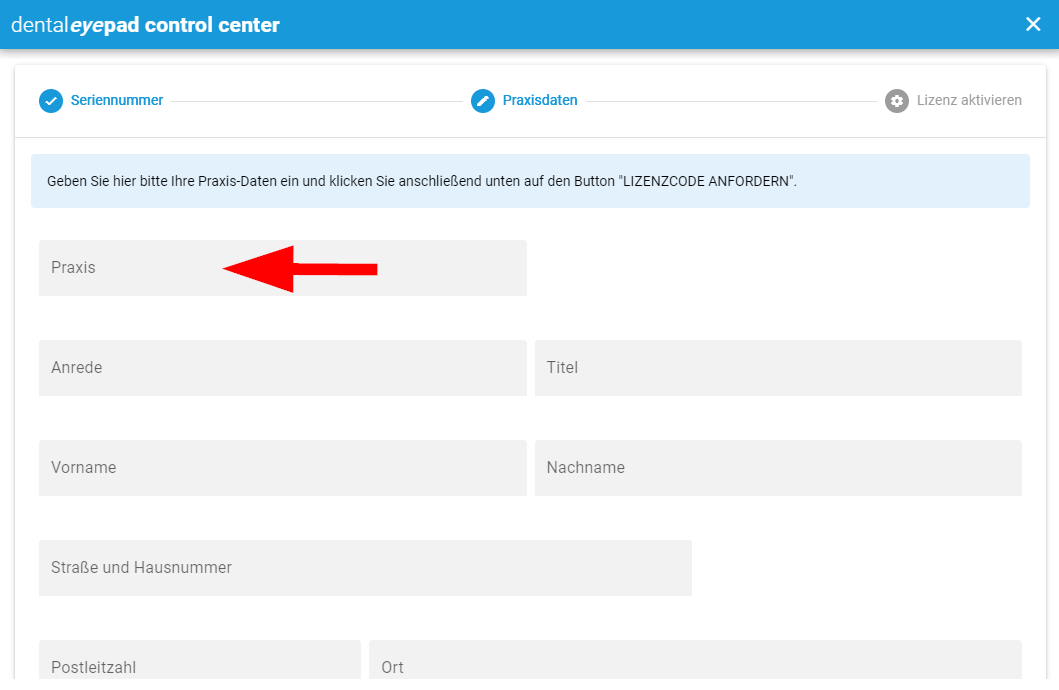
Then enter your practice data in the provided fields and click the “Request license code” button below.
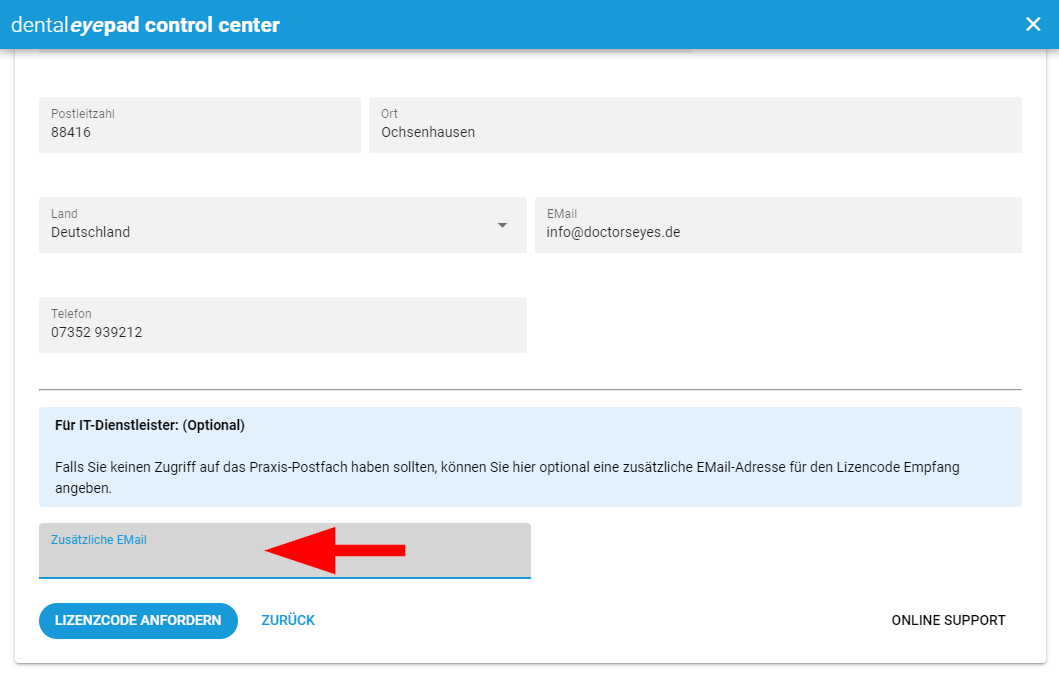
If you are an IT service provider and do not have access to the stored practice mailbox, you can optionally enter an additional email address for receiving the license code.
Please check your mailbox now. An email should have arrived there with the subject “Your requested dentaleyepad license code”.
If necessary, also check your spam folder.

Now select your practice software from the pull down menu which should communicate with the dentaleyepad.
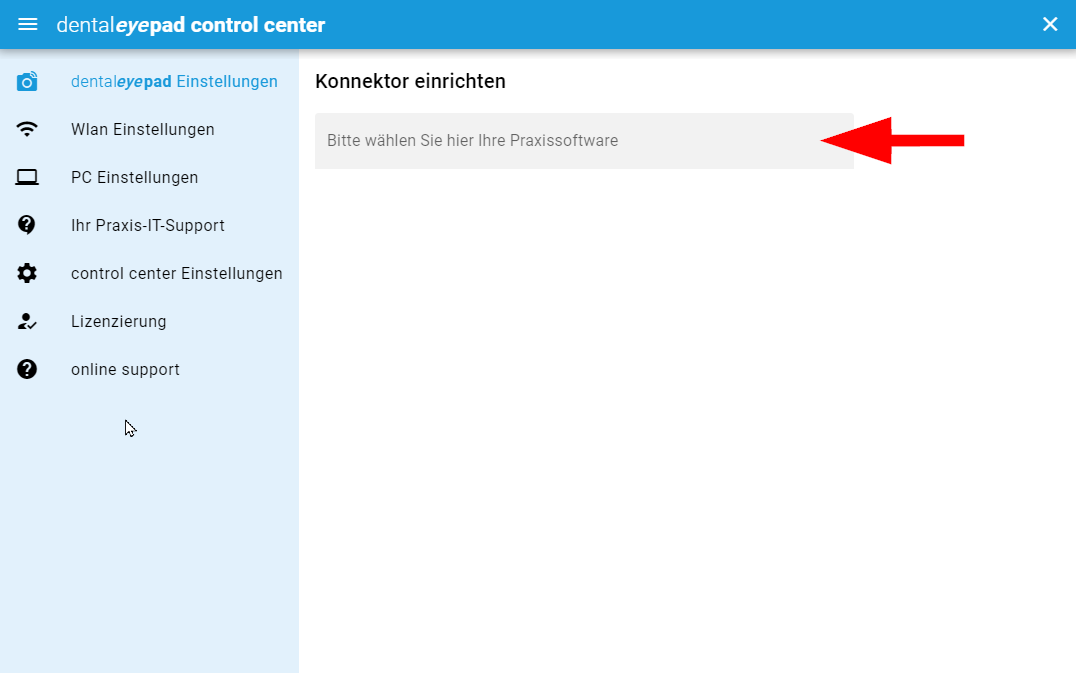
Now select your practice software from the pull down menu which should communicate with the dentaleyepad.
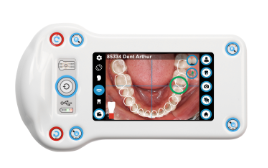
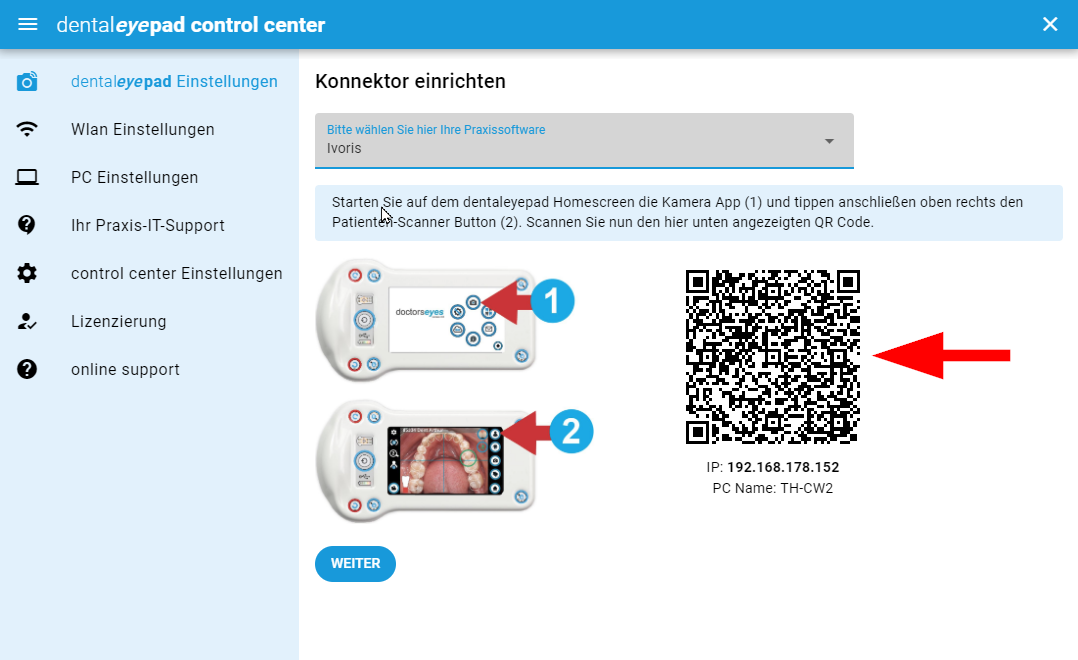
After selecting the software, a QR code appears on the right side. Please scan this with the dentaleyepad.
To do this, start the camera app and tap the button with the “patient icon” in the top right corner of the camera screen.
The dentaleyepad will then display the message “QR code scanned successfully” and “The settings have been applied.”
Confirm with “OK”. The dentaleyepad has now received all license data.
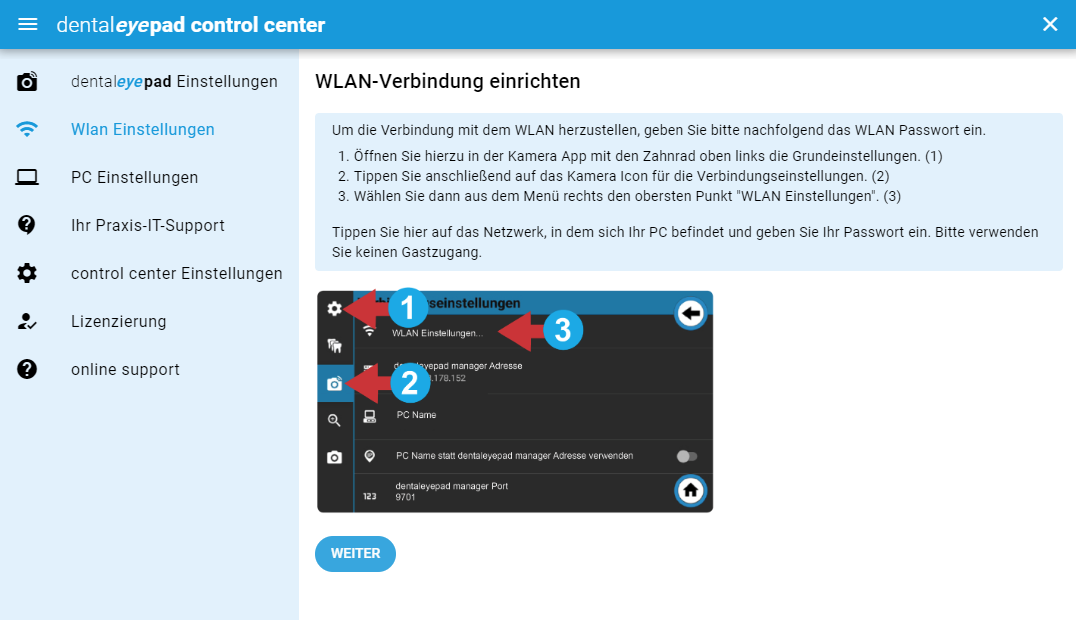
Now it is time to connect the dentaleyepad to the WLAN.
To do this, open the camera app again on the dentaleyepad and then call up the basic settings using the gearwheel at the top left (1).
Now the third icon from the top for the connection settings (2) follows on the left side.
Now select the menu item WLAN settings (3).
A list of all available WLAN networks then appears. Select your practice network here.
Please do not use
not use
guest access.
After that, you still need to enter your corresponding WLAN password.
If the connection is established correctly, “connected” will appear under your network name after a few seconds.
If this worked please go to the next step
Set image directory:
If you are not able to connect, please go to the section
Request IT Support
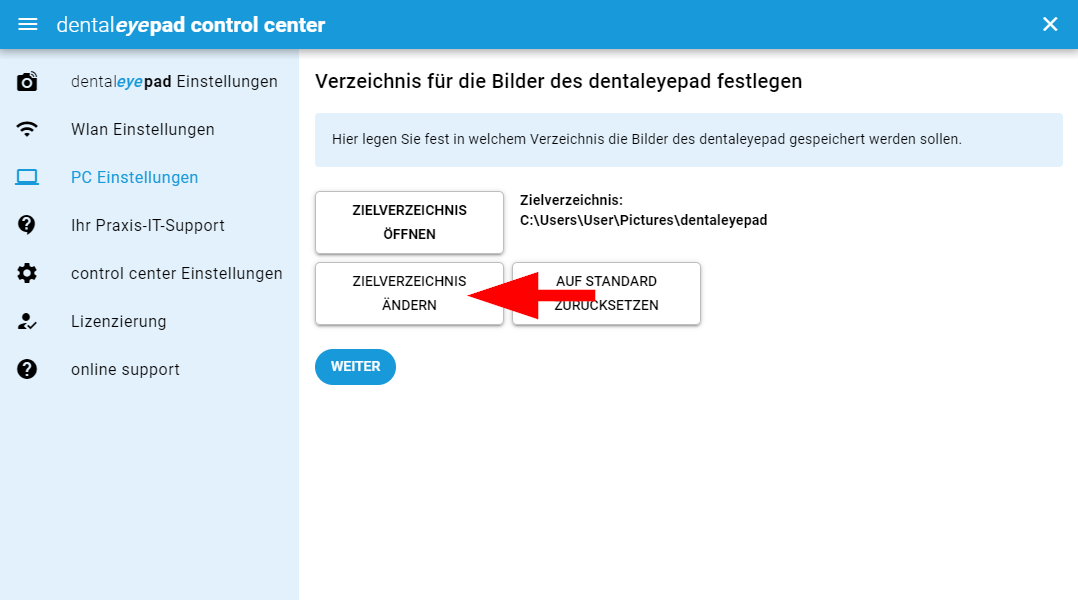
Set image directory:
Now you can define in which directory on your PC or network the images of the dentaleyepad should be saved.
To do that, select the “Change destination directory” button and confirm the desired directory.
After selecting the directory, the dentaleyepad control center must be restarted.
Therefore, the following message appears:
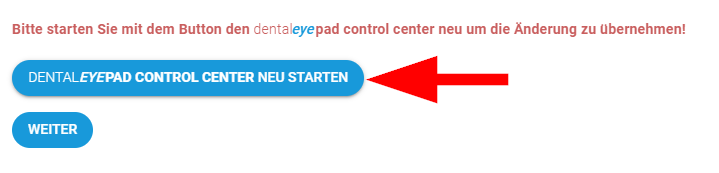
Click on “Restart dentaleyepad control center” here.
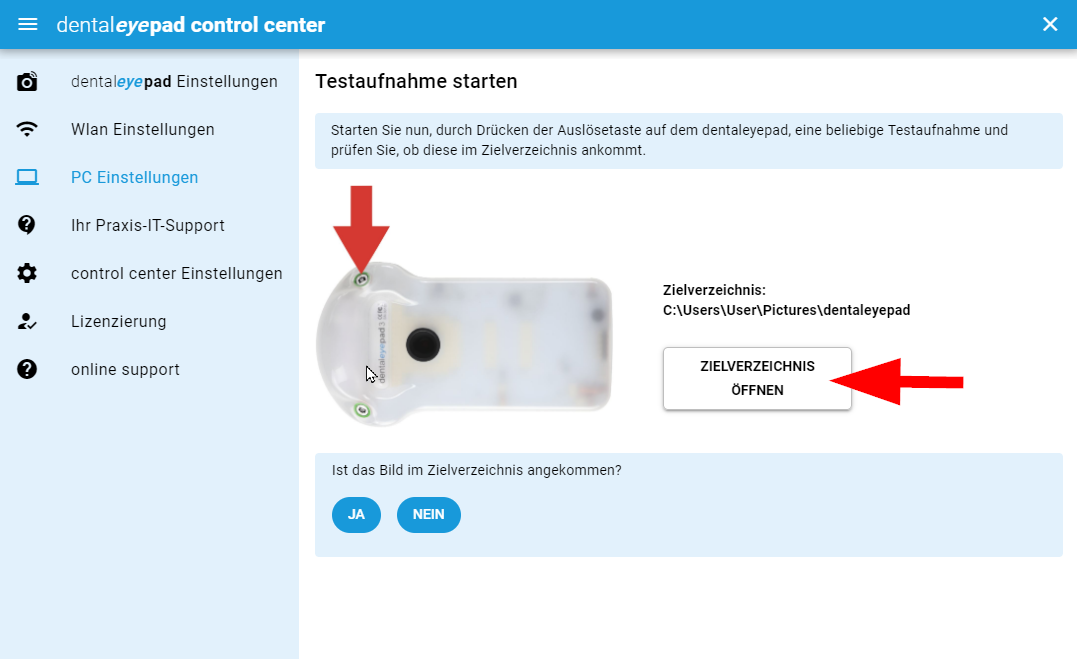
Now it gets exciting: You can now take a first arbitrary test exposure with the dentaleyepad.
Open the destination directory with the “Open destination directory” button and check if the image has arrived there.
If so:
Great, congratulations, then the dentaleyepad installation is complete.
You can now decide if the dentaleyepad control center should be visible at every PC start or if it should start invisibly in the background.
We recommend the invisible start in the background.
If you want to make settings at the dentaleyepad control center, you can open it again at any time via the blue-white “DE” icon in the Windows system bar at the bottom right.

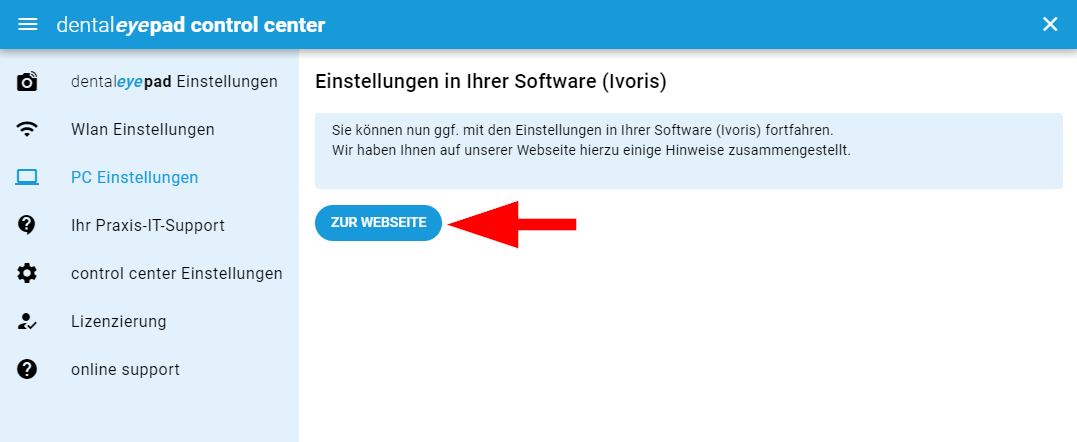
After that, we will continue with the settings in your application software.
To do this, click on the button “to the website”.
If no:
Also not bad. Probably another network setting prevents communication with the dentaleyepad.
Reasons can be:
- additional hardware or software firewall is active
- Virus scanner is active
- If Windows Firewall is active: the app dentaleyepad-control-center has not been granted permission to communicate.
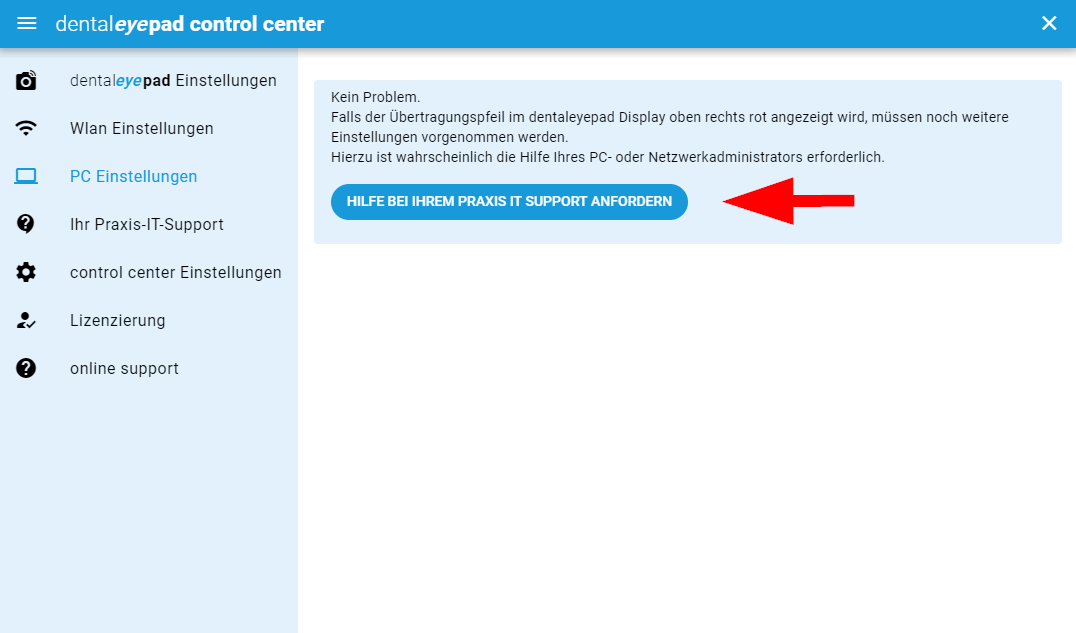
It is likely that settings in these areas will require the assistance of your PC or network administrator.
Clicking the “Request help from your IT support” button will take you to the appropriate page.
Request IT Support:
If you need support from your network administrator or IT partner, select the menu item “Your practice IT support”.
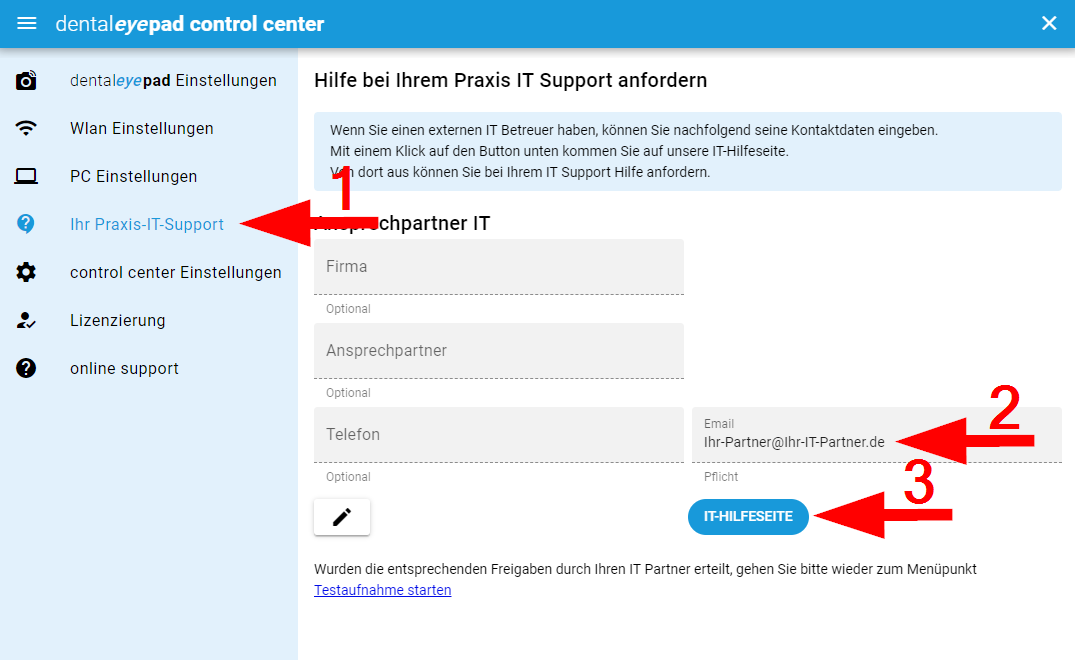
Then enter the contact person and e-mail address of the IT partner and click on “IT help page” (3).
After a few seconds, the “Request Help from Your IT Support” page will open in your browser with your information. Now press the blue “Create e-mail” button at the bottom and then confirm your e-mail program from the selection window.
In your mail program you will now see a mail that you can edit and then send to the IT service provider.
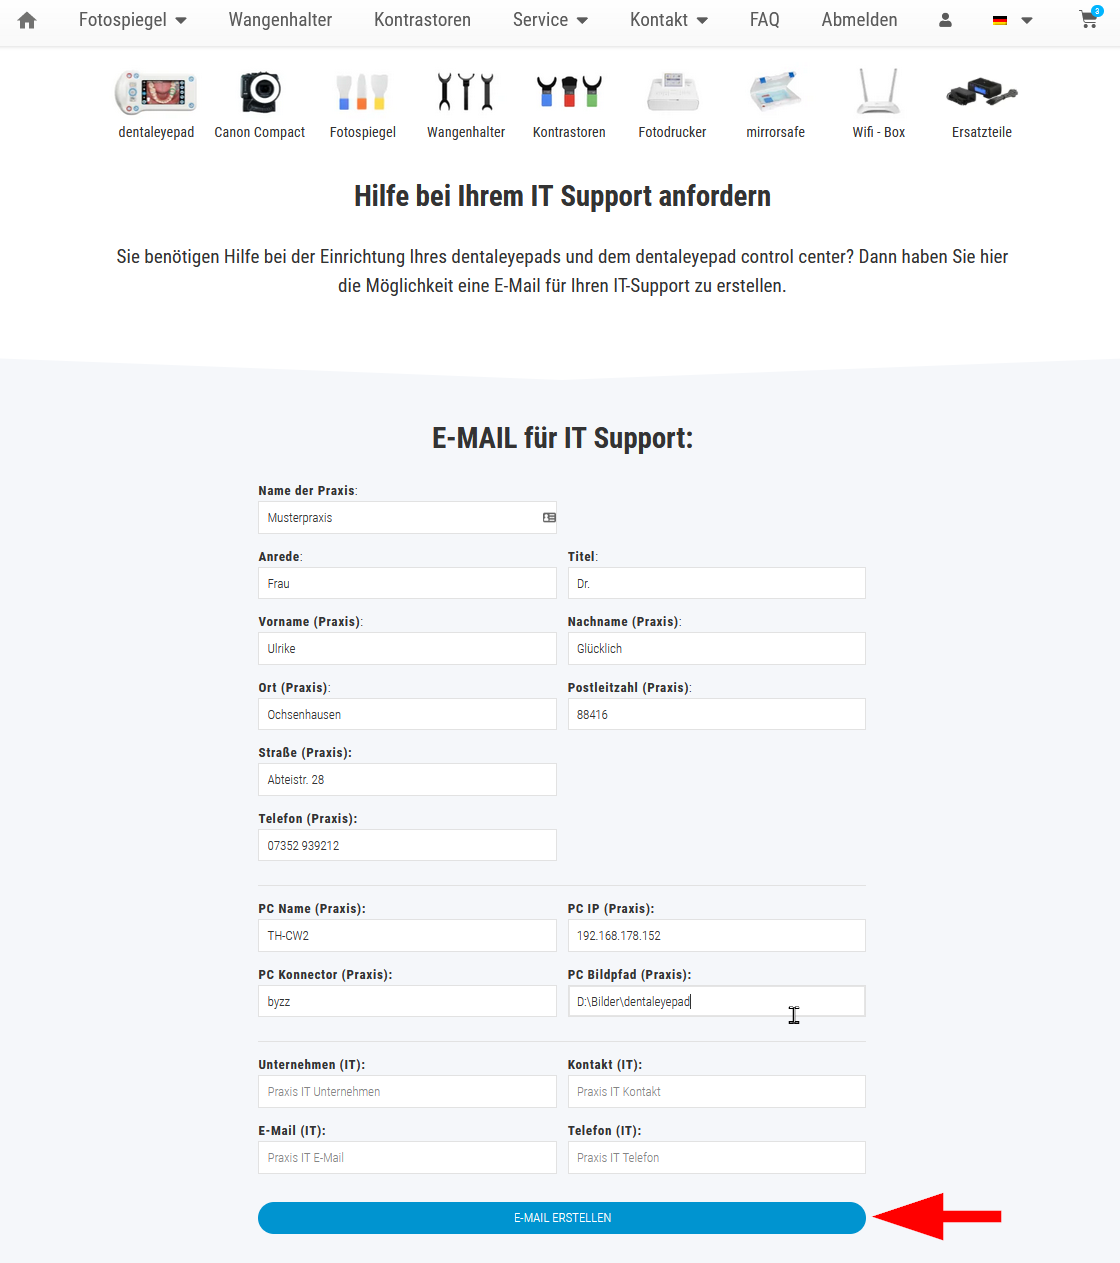
The mail already contains the required data for your IT service provider. If there are any further questions, the mail also contains a link to our website with further IT specific information about the dentaleyepad.